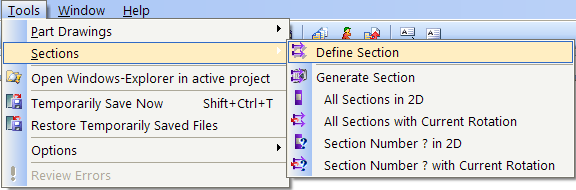
Section is principally the same as part drawings. You must first define one or several sections, then generate individual section files, and at last get them into a plot assembly. The function Section is found in the menu Tools->Section->Define Section
Section from menu.
To define a section, you must enter 3 points. The two first points are the extension of the section, and the third is the depth. Section A will automatically be defined the first time you define a section in the drawing, then B, C etc. will follow.
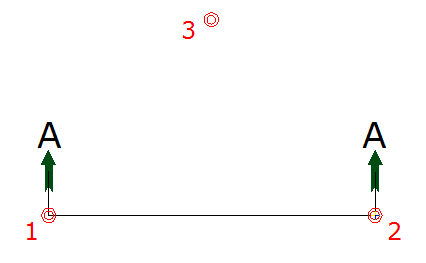
Define a section. Point 1 and 2 decide the section, point 3 decides the depth.
See video how to define a section.
When all sections have been defined, they are to be generated. CFI files will be created of the section, later available in a plot assembly. Before section is generated, assemble all storeys (assemble project drawing) that you want to be included in the sections, then activate 3D volume. 3D volume is activated from the menu View-> Toggle 3D symbols State
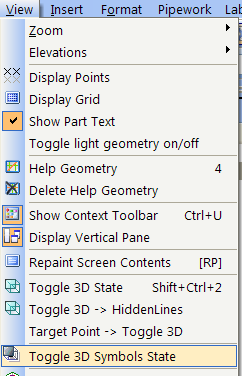
Turn 3D presentation on.
Now the sections are ready to be generated. Select the menu Tools -> Section -> All Sections with Current Rotation
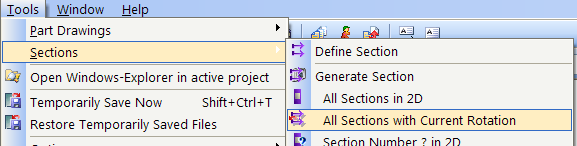
Generate sections.
Now DDS-CAD will ask for the number of the section drawings. The sections will get the file name XXXXYZZZ.CFI where XXXX is the first character in your project name, Y is the application number you work with ( 1=plan drawing, 6=electrical, 7=ventilation and 8=pipes) and ZZZ is the number you must enter. DDS-CAD will suggest the number 951. You can change this number to any number between 000 and 999, but as a rule you should enter numbers between 951 and 999 for section drawings.
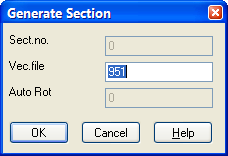
DDS-CAD will as for the section number. One or several CFI file(s) will be created.
If you have defined several sections and want to generate them all, section A will get the number you enter, while the rest will be generated with ascending numbers. (Example, Section A=951, Section B=952, Section C=953 etc...)
Example: You are to generate section A and section B in a pipe module. The project name is 76-demo and the section number for section A is 951. Section A will then get the file name 76-d8951.cfi, while section B gets the name 76-d8952.cfi
See video how to assemble two storeys, activate 3D symbol, and generate section A and B with the number 951 and 952.

Click to see a video
To get a section into the plot assembly for print, see the section about part drawings.
< Previous Section - Next Chapter >